A Practical Guide to Cleaning Petrol Tanks
- Misfuelled Car Fixer

- Oct 31, 2025
- 17 min read
Cleaning your car's petrol tank isn't something you do on a whim. It's a critical fix when you start to notice things just aren't right – maybe the engine sputters, it struggles to turn over in the morning, or it just feels sluggish and underpowered. These are all classic signs of fuel contamination, usually caused by a nasty mix of water, rust, or other gunk that's found its way into your fuel system. Tackling this head-on by cleaning the tank can save you from far more serious engine damage down the line and get your car running smoothly again.
When Your Car Is Crying Out for Help
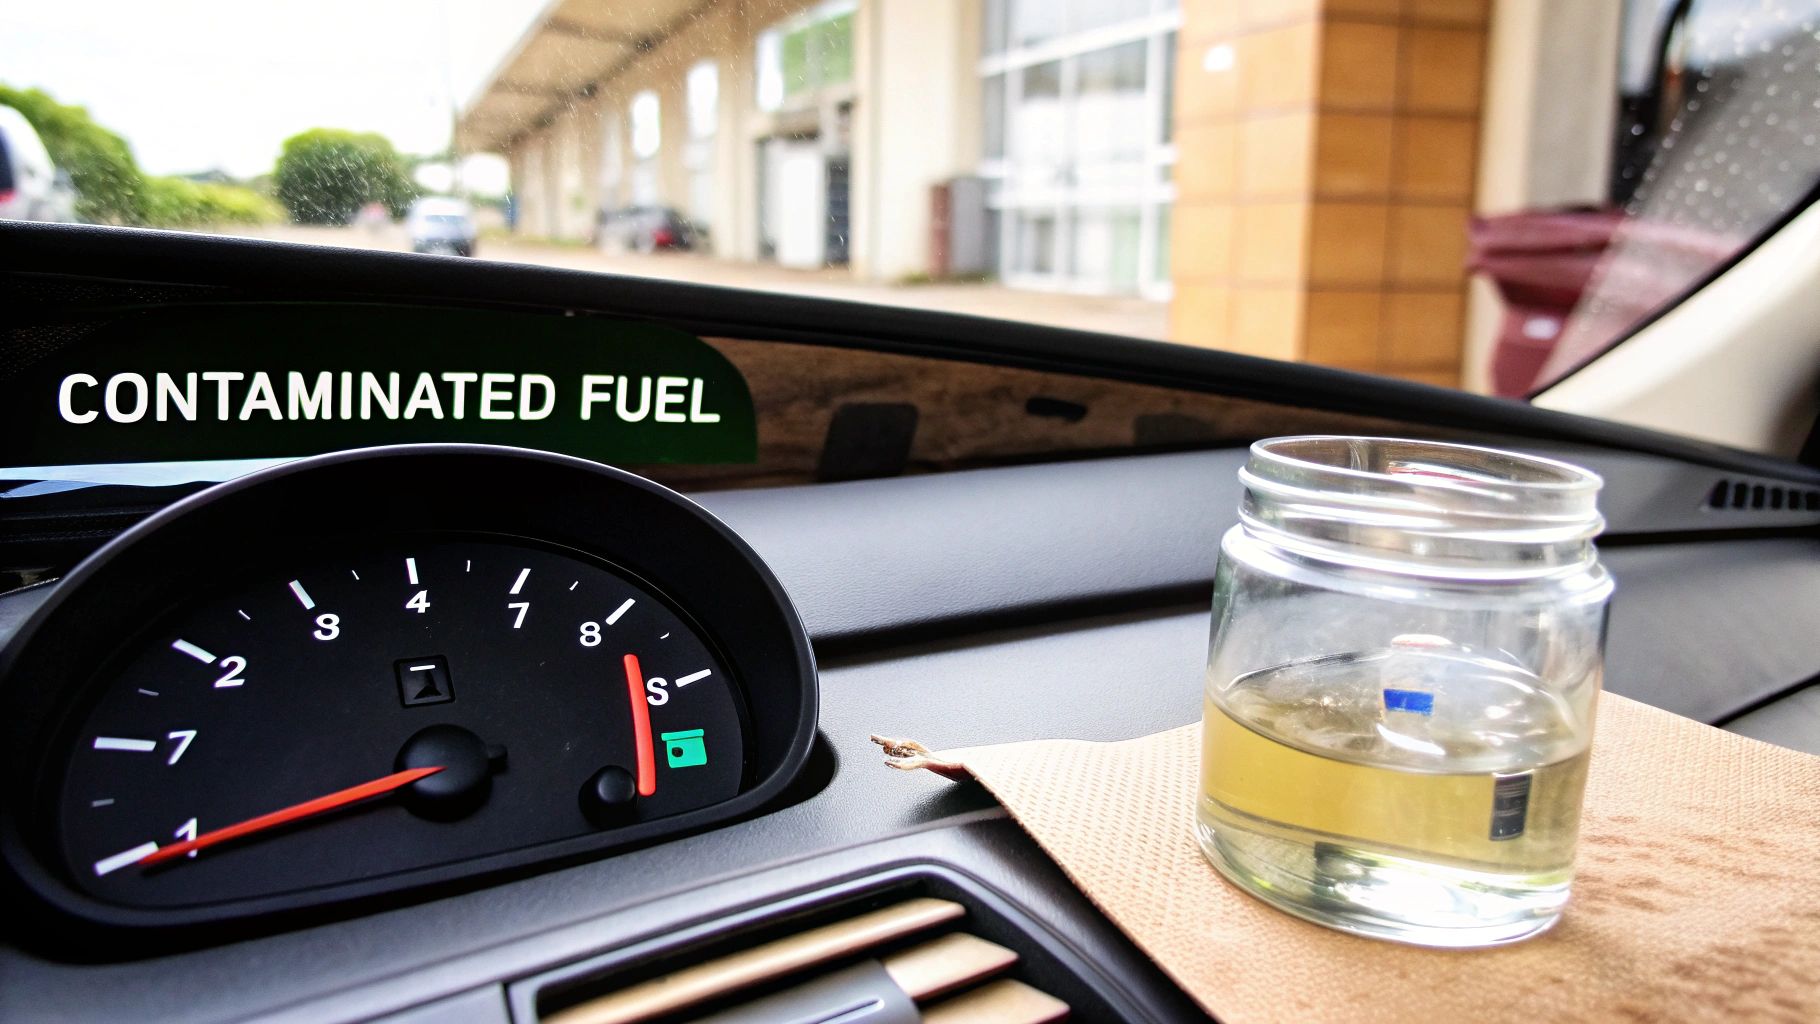
Your car has a way of telling you when something’s wrong, and the fuel system is no exception. Ignoring these little hints can easily lead to a breakdown at the worst possible moment. The culprit is often years of accumulated contaminants in your petrol tank, which turns clean fuel into a sludge that wreaks havoc on your engine.
Learning to read these signals is the first step. If your car is showing any of the signs below, a contaminated tank is a very likely suspect.
Performance Problems You Cannot Ignore
Hesitation when you accelerate is a big one. You put your foot down, but the car seems to stutter or pause before it gets going. This is often because the fuel pump is struggling to pull clean petrol through a clogged filter, starving the engine of the consistent flow it needs.
Another tell-tale sign is a sputtering engine, especially when you're driving at a steady speed. This erratic behaviour points to an inconsistent fuel supply, where pockets of contamination are interrupting the combustion process. It can feel like the engine is about to cut out completely, which makes for a pretty unnerving drive.
You might also find it's a real battle to get the car started. A cold start becomes a long, drawn-out process because the first lot of fuel being pulled through is dirty. In the worst-case scenario, the engine won't start at all, leaving you stranded.
Unreliable Gauges and Strange Noises
A dodgy fuel gauge can be more than just an annoyance; it can signal a deeper problem. Sludge and debris can physically jam the float mechanism in the sending unit, causing it to stick and give you wild, inaccurate readings. One minute you've got half a tank, the next it’s on empty.
Also, listen out for any strange noises from the fuel pump, which is usually located in or near the tank. A whining or buzzing sound often means the pump is working overtime, straining to force fuel through a clogged system. This extra strain can cause the pump to fail prematurely—a much pricier fix than a simple tank clean.
To help you pinpoint the issue, here's a quick rundown of common symptoms and what they could mean.
Symptoms of a Contaminated Petrol Tank
Symptom | What It Means | Urgency Level |
|---|---|---|
Engine Sputtering | Inconsistent fuel flow is interrupting combustion. | High |
Difficulty Starting | The engine is struggling to get clean fuel to ignite. | High |
Hesitation on Acceleration | Fuel filter or lines are likely clogged, starving the engine. | Medium to High |
Erratic Fuel Gauge | Debris may be interfering with the fuel sending unit. | Low to Medium |
Whining from Fuel Pump | The pump is straining and could be close to failing. | High |
Visible Debris in Fuel Filter | Solid proof that contaminants are circulating in your system. | High |
If you spot any of the "High" urgency symptoms, it's best to get it checked out as soon as possible to avoid a breakdown or further damage.
Key Takeaway: Engine sputtering, difficulty starting, and hesitant acceleration are direct indicators that your fuel system is compromised. These aren't minor quirks; they are clear warnings that your petrol tank needs attention before the problem worsens.
What Causes Petrol Tank Contamination?
Contamination doesn't just happen overnight. It’s a gradual build-up caused by a few common culprits for drivers here in the UK.
Water Ingress: Condensation is the primary enemy. Tiny amounts of water can build up inside the tank, especially if you often drive with it near-empty. This water sinks to the bottom, promoting rust and creating a perfect breeding ground for microbial sludge.
Rust and Corrosion: Older cars with steel tanks are especially vulnerable. Over time, internal rust flakes off and mixes with the petrol, creating a gritty sediment that will clog everything it touches.
Poor Quality Fuel: While less of an issue at major petrol stations, cheap or old fuel can sometimes contain impurities that will settle out at the bottom of your tank.
Misfuelling Accidents: Putting the wrong fuel in your car is an immediate and severe form of contamination. If you've made this mistake, you can learn more in our guide on what to do if you put petrol in a diesel car.
The problem is more common than you'd think. The professional tank cleaning service market in the UK is valued at around £120 million. While a big chunk of that is for industrial tanks, the basic principle of removing contaminants to keep a system healthy is exactly the same for our cars. Spotting these signs early is your best defence against a hefty repair bill.
Gearing Up: Your Safety and Tool Checklist
Let's get one thing straight from the outset: working with petrol isn't like changing your oil. It demands your full respect. Before you even think about touching a spanner, your number one job is to set up a safe workspace. Petrol vapours are incredibly flammable, and the smallest spark can ruin your day, or worse. This isn't just about following rules; it's about understanding the risks so you can get the job done without a trip to A&E.
Your first line of defence is your environment. This is strictly an outdoor job. If you must work in a garage, make sure every door and window is wide open. You want a constant flow of fresh air to carry away any fumes. A light breeze is your best mate here.
Next, get your emergency gear sorted. A Class B fire extinguisher is non-negotiable. It needs to be the right type for flammable liquids like petrol and kept close enough that you can grab it in a heartbeat. With any luck, it’ll just sit there looking pretty, but you’ll be glad it's there if you need it.
Your PPE: The Non-Negotiables
When you're dealing with petrol and cleaning chemicals, you need to protect yourself. Think of your Personal Protective Equipment (PPE) as your body armour for the job. Don't skimp on this stuff.
Nitrile Gloves: Forget standard latex gloves; petrol will eat right through them. You need a pair of heavy-duty, chemically-resistant nitrile gloves to stop nasty chemicals from getting on your skin.
Safety Goggles: Not your everyday glasses. I'm talking about fully sealed goggles that wrap around your eyes. A single splash of petrol in the eye can cause serious, long-term damage. They’re essential for when you’re working under the car and gravity isn't on your side.
Respiratory Mask: Even working outside, you’ll be exposed to fumes. A proper respirator with an organic vapour cartridge is a smart move to protect your lungs from breathing in the nasty stuff.
The Golden Rule: The very first and most important step is to disconnect the car's battery. Just undo the negative terminal. This one simple action kills the risk of an electrical spark, which is the prime suspect in most fuel-related workshop fires. Do it before you do anything else.
Assembling the Right Tools for the Task
With your safety gear sorted, it's time to gather your tools. Having the right kit makes the whole process smoother and, crucially, safer. Trying to make do with the wrong tool is how spills and accidents happen.
Top of the list is a certified fuel-safe siphon pump. Whatever you do, don't be tempted to use a bit of hose and your mouth. Swallowing petrol is incredibly dangerous, and you have zero control over the flow. A proper pump keeps the fuel contained and the process under your control.
Here’s a rundown of what else you’ll need to have ready:
Approved Jerry Cans: Make sure you have proper, sealed containers for the old fuel. Have a rough idea of how much petrol is in the tank and get more cans than you think you’ll need. Running out of storage halfway through is a real headache.
A Good Jack and Axle Stands: You’ll need to get underneath the car comfortably. A decent trolley jack and a solid pair of axle stands are a must. Never, ever get under a car that’s only held up by a jack.
Spanner and Socket Set: A comprehensive set is essential. You’ll be undoing fuel lines, tank straps, and maybe even the fuel pump assembly, so you'll need a good variety of sizes.
Non-Metallic Brushes and Scrapers: When you get to the cleaning part, you absolutely must avoid anything that could create a spark. Use stiff nylon brushes for scrubbing and plastic scrapers to shift any stubborn gunk from the bottom of the tank.
Drip Trays: Let’s be realistic, a few drips are almost guaranteed. Large drip trays placed under your work area will catch any spills, making clean-up a lot less messy.
Plenty of Old Rags: You'll be surprised how many you get through. They're perfect for wiping up small spills, cleaning tools as you go, and drying out the tank later on.
Getting all this laid out and organised before you start will make the job a hundred times easier and safer. Take five minutes to check everything is in good nick and that you know how it works. A bit of prep goes a long way.
How to Clean a Petrol Tank: A Step-by-Step Guide
Alright, you've got your safety gear on and your tools are ready to go. Now comes the main event: getting that petrol tank sparkling clean. It's a job that demands a bit of patience and a methodical approach, but if you break it down into clear stages, it’s not as intimidating as it sounds. The end goal here is simple—a tank so clean that your engine will thank you for it.
Before you even think about touching the tank, make sure you've nailed these three safety essentials. They are non-negotiable.
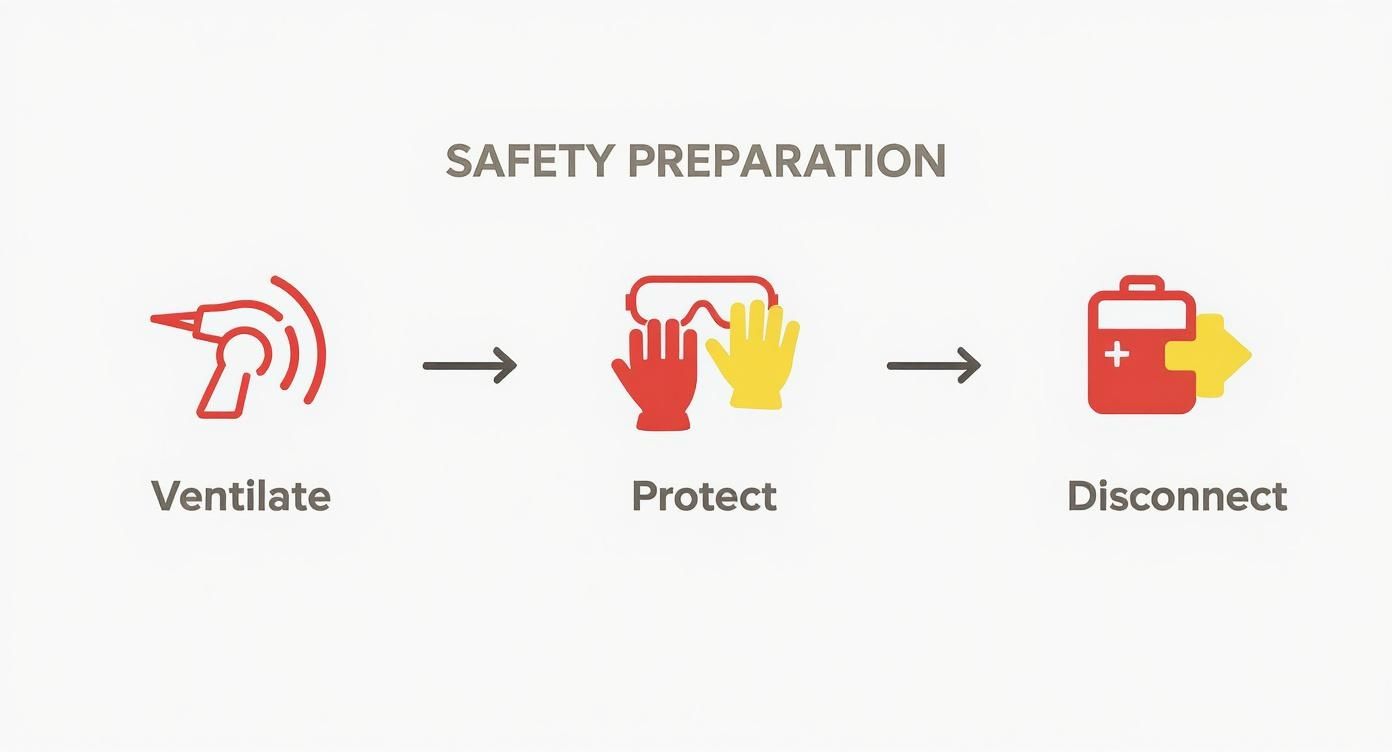
Ventilation, protection, and disconnecting the power. Get these right, and you’ve laid the foundation for a safe and successful job.
Gaining Access and Draining the Tank
First things first, you need to get the car safely in the air. Use a trolley jack on a solid point of the chassis, then secure it with a good set of axle stands. Never get under a car that’s only held up by a jack.
Once the car is securely propped up, it’s time to locate and get to the petrol tank. On most cars, this means dropping it out from underneath. You’ll usually be dealing with a couple of straps holding it in place, along with the fuel lines, the filler neck, and the electrical plug for the fuel pump. Keep your drip tray handy, as you'll always get a bit of spillage from the lines.
With the tank free from the car, find a stable, flat spot to work on it. Now you can get the old fuel out. Using a certified, fuel-safe siphon pump, carefully transfer every last drop of petrol into your approved jerry cans. Take your time with this to avoid any spills.
Choosing Your Cleaning Method
With the tank empty, you can finally see what you’re dealing with. A quick peek inside with a torch will show you just how much rust, sediment, or sludge has built up. This is what will guide your cleaning strategy.
You've really got two main options for a DIY clean:
Dedicated Tank Cleaning Solution: This is usually the simplest and safest bet. These are purpose-made chemical cleaners you pour in, designed to break down varnish, sludge, and light rust without harming the tank itself.
Mechanical Agitation: If you're faced with heavy sediment or flaky rust, you’ll need to get a bit more physical. The old-school trick is to add a handful of smooth pebbles or a short length of clean chain into the tank, seal it up, and give it a really good shake. These act like a scourer, physically knocking the stubborn crud loose.
For a really tough job, some people use steam cleaners, but this is risky business. You have to be incredibly careful to avoid a dangerous pressure build-up, and it should only ever be attempted in a well-ventilated space after all fuel vapours have completely dissipated.
Pro Tip: If you're using the agitation method, why not get the best of both worlds? Add a bit of degreaser or a mild cleaning solution along with the pebbles. This combination of chemical and physical action can be incredibly effective at shifting stubborn grime.
The Agitation and Initial Cleaning Phase
If you've gone for the agitation route, pour in a little degreaser, add your scouring medium (like the pebbles), and seal the tank up tight. Now for the hard part—give it a thorough shake. Up, down, side-to-side, roll it around. You want to make sure the solution and pebbles hit every single internal surface, especially the corners and seams where gunk loves to collect.
Keep this up for a solid 10-15 minutes. Then, carefully pour the contents out into a separate container. Don't be surprised if what comes out looks pretty grim. You’ll likely need to repeat the process until the liquid you’re draining out looks much cleaner.
If you’re using a chemical cleaner, just follow the manufacturer’s instructions to the letter. This usually involves letting the solution sit in the tank for a set amount of time to let the chemicals do their magic. For more on different techniques, these expert tips for boat fuel tank cleaning are a great read; many of the core principles are the same, regardless of the vehicle.
Flushing, Rinsing, and Drying Thoroughly
This final stage is just as important as the cleaning itself. Any debris or cleaning solution left behind will just contaminate your fresh petrol and you’ll be back to square one.
Start by flushing the tank out with clean water. Fill it about a quarter full, seal it, shake like crazy, and drain it out. Do this at least three or four times—or until the water coming out is perfectly clear.
Now for the most crucial part of this step: getting the tank completely bone dry. Even a little water left inside will sink and kickstart the whole rust and corrosion process again. The best way to do this is with compressed air, methodically blowing out every nook and cranny. If you don’t have a compressor, you can leave the tank to air-dry in a warm, sunny spot for a good 24-48 hours. Just make sure you remove all the caps to get maximum airflow.
It’s interesting to see how things have changed in the commercial world. For years, manual tank cleaning was the standard, making up over 60% of all jobs in the UK. Today, automated systems are taking over, now accounting for nearly 45% of the market. While the initial investment is higher, automated cleaning can cut downtime by up to 50% and is significantly safer.
Once you are 100% certain the tank is dry, it’s time to put everything back together. Simply reverse the steps you took to remove it—reconnect the fuel lines, plug in the electronics, and secure the mounting straps. Before you fill the tank completely, add just a few litres of fresh petrol and give everything a thorough check for any leaks.
Disposing of Old Fuel and Preventing a Repeat Performance
So, you've done the hard work and your petrol tank is sparkling clean. That’s a huge win, but don't pat yourself on the back just yet. You're now left with a container full of contaminated fuel and some pretty potent chemicals.
Dealing with this hazardous cocktail correctly is non-negotiable. Petrol is officially classified as hazardous waste, and simply pouring it down the drain or tipping it onto the garden is illegal, terrible for the environment, and could land you with a hefty fine.
And whatever you do, don't be tempted to use it in another engine, not even the lawnmower. The sludge, rust, and chemical mix will wreck it in no time. Your only safe, legal route is a trip to a proper hazardous waste facility.
Finding Your Local Disposal Centre
Thankfully, this isn't as complicated as it sounds. Most local councils run a household waste recycling centre (what most of us call 'the tip') that is set up to handle this sort of thing from the public. A quick search on your local council’s website for "hazardous waste disposal" should point you in the right direction.
It’s always a good idea to ring them before you set off. Some centres have specific days or times for accepting liquids, and they might have a limit on how much you can bring at once. And, of course, make sure your container is sealed up tight for the journey.
To get the full picture of your responsibilities, it’s worth familiarising yourself with the official UK Hazardous Waste Disposal Regulations. This ensures you’re not only doing right by the environment but also keeping yourself on the right side of the law.
A Quick Word of Warning: Never, ever mix old petrol with other waste like used engine oil. Keep everything in separate, clearly labelled containers. This is crucial for the recycling centre to process it all safely.
From a Big Fix to Smart Habits
With your tank now pristine, the name of the game is keeping it that way. You can save yourself from ever having to do this job again by adopting a few simple habits.
Think of it as preventative medicine for your car. These small, consistent steps protect the entire fuel system, from the tank right through to the injectors, and keep everything running smoothly.
Best Practices for a Healthy Fuel System
Here are a few things I've learned over the years that make a real difference:
Fuel Up Wisely: Sticking to well-known, busy petrol stations is a good start. Their fuel is likely to be fresher and often contains detergent additives designed to help keep your engine’s internals clean.
Don't Run on Empty: Try to keep your tank at least a quarter full. A fuller tank means less air, which means less opportunity for condensation to form. Water is the enemy here, as it sinks to the bottom and starts causing rust and sludge.
Respect the Fuel Filter: Your fuel filter is the final gatekeeper, catching any stray bits of dirt before they reach the engine. Don't skip replacing it. Stick to your car's recommended service schedule like glue.
Use a Stabiliser for Stored Cars: If you've got a classic car or any vehicle that sits for long periods, a fuel stabiliser is a must-have. It stops the petrol from degrading and turning into that sticky varnish that clogs up everything.
Proper fuel handling is always critical, whether you're cleaning a tank or dealing with a simple mistake at the pump. For instance, putting diesel in a petrol car is a form of instant, severe contamination that really needs a professional to sort out properly.
The scale of the problem is bigger than you might think. The Environment Agency notes there are over 250,000 underground fuel storage tanks in the UK, where decommissioning is a seriously regulated affair. In fact, improper handling has already led to 150 recent cases of soil contamination, highlighting just how important it is to get it right. By making these preventative tips part of your routine, you can make sure all your hard work pays off for years to come.
Knowing When to Call a Professional

While this guide gives you a solid foundation for cleaning a petrol tank, one of the most important skills any home mechanic can have is knowing when to put the tools down. Sometimes, the smartest and safest move is to pick up the phone.
Pushing your limits can turn a frustrating job into a dangerous one, not to mention the risk of causing more expensive damage. Certain situations just aren't suited for a driveway fix, and it’s crucial to recognise them.
Red Flags That Scream "Call an Expert"
If you come across any of these issues, it’s a clear sign you need professional help. These problems demand specialised equipment and the kind of know-how that only comes with experience.
Modern Pressurised Fuel Systems: Newer cars often have complex, high-pressure fuel systems. One wrong move when disconnecting a line can result in a dangerous, high-pressure spray of petrol and can wreck sensitive components.
Tanks with Tricky Baffles: Many modern tanks have internal baffles to stop fuel from sloshing around. These can make it almost impossible to get all the gunk out of every nook and cranny without professional-grade flushing gear.
Serious Internal Rust: If you're seeing more than just a bit of surface rust—think heavy, flaky patches—a simple clean won't cut it. A professional can properly assess if the tank can be salvaged with a specialist sealant or if it needs replacing altogether.
Any Misfuelling Incident: This one is non-negotiable. Putting petrol in a diesel car (or the other way around) is an emergency. The risk of ruining your engine, costing thousands in repairs, is just too high to attempt a DIY fix.
Crucial Insight: Misfuelling is the number one reason to call a professional. Just draining the tank isn’t enough. The entire system—fuel lines, filters, injectors—needs a thorough professional flush to remove every last trace of the wrong fuel.
The Misfuelled Car Fixer Advantage
Deciding between a DIY job and calling in the pros can be tough. Here’s a quick comparison to help you weigh your options.
DIY vs Professional Petrol Tank Cleaning
Factor | DIY Approach | Misfuelled Car Fixer Professional Service |
|---|---|---|
Safety & Equipment | Relies on basic hand tools and standard safety gear. High risk of fire/explosion if not handled properly. | Uses certified, intrinsically safe mobile draining and flushing equipment. Fully trained and insured technicians. |
Effectiveness | Can be effective for minor contamination in simple, older tanks. May not remove all debris from complex modern tanks. | Comprehensive system flush guarantees removal of all contaminated fuel from the tank, lines, and filters. |
Speed & Convenience | Can take several hours or a full weekend. You must source all materials and dispose of the fuel yourself. | Fast, mobile service comes to you. The job is typically completed within an hour, getting you back on the road quickly. |
Contaminated Fuel Disposal | Your responsibility. Must find a licensed facility, which can be difficult and costly. | We handle the legally compliant, environmentally safe disposal of all contaminated fuel. No hassle for you. |
Cost | Lower upfront cost for tools and chemicals. Potential for high costs if mistakes are made or the problem isn't fully solved. | Fixed, transparent pricing. Prevents catastrophic engine damage, saving you thousands in potential repair bills. |
Ultimately, for misfuelling emergencies or complex cleaning jobs, a dedicated service like ours is your safest and most reliable choice.
We bring a level of efficiency and expertise that you just can't replicate at home. Our technicians arrive with all the specialised gear needed to do the job safely, even at the roadside. We don't just drain the tank; we perform a full system flush to ensure every drop of bad fuel is gone.
This process means that when we’re done, your car is genuinely safe to start and drive. We also take care of disposing of the contaminated fuel according to all environmental regulations, so it's one less thing for you to worry about.
If you've made a mistake at the pump or just feel a full tank clean is a bit beyond your comfort zone, don't take a chance. Our 24/7 emergency service is always on standby. You can easily get a quote for our professional fuel drain services and have an expert technician on their way to sort the problem out properly.
Your Petrol Tank Cleaning Questions Answered
Even after walking through the process, you might still have a few questions rattling around. It's completely normal. Let's tackle some of the most common queries we get from drivers, providing straight answers to clear up any confusion and keep you safe.
How Often Should I Clean My Petrol Tank?
This is a big one, and the answer often surprises people. Cleaning your car's petrol tank isn't a regular maintenance task like changing the oil. For most modern vehicles, you should never have to do it.
Think of it as a reactive repair, not a proactive one. You only need to consider a tank clean if you’re dealing with a specific problem, like contamination causing your engine to run rough, or after a misfuelling mishap. It's far more common when working on classic car restorations, where a tank might be full of rust and varnish after sitting dormant for decades.
Can I Use a Pressure Washer to Clean It?
Absolutely not. We can't stress this enough: using a standard pressure washer inside a fuel tank is incredibly dangerous. The high-pressure spray can generate static electricity, and a single spark is all it takes to ignite the petrol fumes. It's a risk that just isn't worth taking.
Professionals rely on specialised, intrinsically safe equipment that's built to prevent sparks. When you're doing this at home, you must stick to chemical cleaning agents and gentle, low-pressure flushing to stay safe.
What’s the Going Rate for a Professional Service in the UK?
The cost for a professional fuel tank clean can vary quite a bit. The final bill depends on a few things: your car's make and model, how bad the contamination is, and whether the service is mobile or you're taking it to a garage.
Generally, you can expect to pay somewhere between £150 and £400+ for a proper, thorough cleaning. It’s important to note this is different from an emergency wrong fuel drain. A misfuelling call-out is a specialist 24/7 service designed for rapid response to get you back on your way, so the pricing structure is often different.
If you've put the wrong fuel in your car or think the tank is seriously contaminated, this isn't the time for a DIY project. Contact Misfuelled Car Fixer for immediate professional help. Our 24/7 mobile crew will sort it out safely and have you back on the road in no time. Get a fast, no-obligation quote now.
Article created using Outrank

