How to Drain Petrol Tank: Safe, Step-by-Step Guide
- Misfuelled Car Fixer
- Jan 24
- 17 min read
Knowing how to drain a petrol tank is more than just a bit of mechanical know-how; it's a vital skill that can save you from some serious and expensive engine trouble. Understanding why you'd need to do it is the first step to protecting your vehicle.
Why You Might Need to Drain Your Fuel Tank
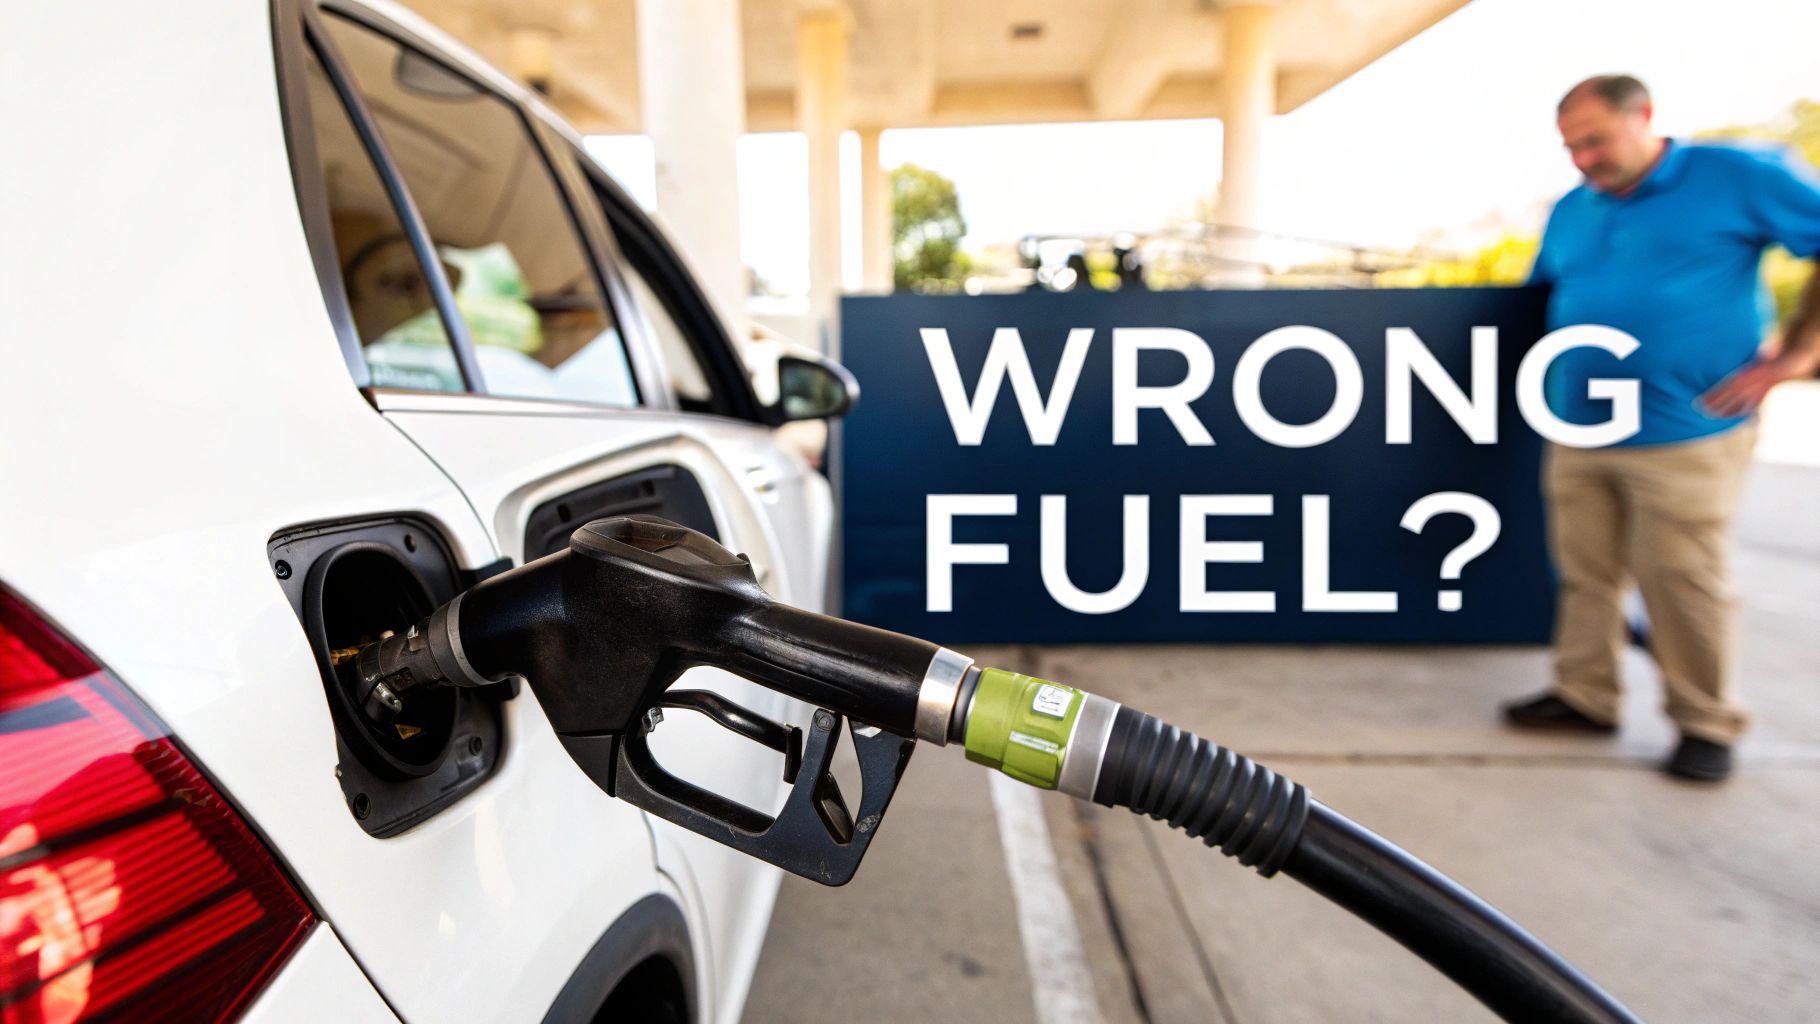
It’s a heart-sinking moment that happens at petrol stations all over Suffolk and beyond, far more often than you'd imagine. You’re distracted for a second, you grab the wrong nozzle, and just like that, you've put petrol in your diesel car. This simple slip-up is the number one reason people need a fuel drain, and the fallout can be both swift and severe.
The Misfuelling Mistake
Putting the wrong fuel in your car is an incredibly common mistake. In the UK alone, it happens around 150,000 times a year. That figure is so high that most breakdown services now offer fuel drains as a standard call-out, with prices ranging anywhere from £130 to over £290. You can read more about how these services compare on price.
If you realise what you've done while you're still at the pump, the best thing you can do is... nothing. Do not start the engine. By leaving the car off, you stop the contaminated fuel from being pulled into the engine, which makes the whole draining process much simpler and safer for your car.
Key Takeaway: If you've put the wrong fuel in, your most powerful tool is inaction. Don't turn the key. Don't even put it in the ignition. This is your best chance to prevent the bad fuel from wrecking sensitive parts like your fuel pump and injectors.
Dealing with Contaminated Fuel
It’s not just about putting in the wrong type of fuel. Sometimes, the fuel itself is the problem. Contamination can creep in a few different ways:
Water Contamination: A car that's always run on a near-empty tank can get condensation build-up. Water can also get past a worn-out fuel cap seal. The result? A sputtering engine, stalling, and eventually, rust inside your fuel system.
Debris and Sediment: Over many years and thousands of miles, tiny bits of rust and dirt settle at the bottom of your fuel tank. This gunk can get stirred up and sucked into the fuel lines, clogging the filter and injectors and starving the engine.
Stale Fuel: Petrol doesn't last forever. If you have a vehicle that's been sitting for a long time—a classic car tucked away for winter, a motorbike, or even the lawnmower in the shed—the fuel inside can go stale. It turns thick and gummy, blocking up the works and making it impossible to start. Draining that old stuff is the only way forward.
You might think the design of the filler neck would prevent these mistakes, and sometimes it helps.
Modern cars have different-sized filler necks to stop you from putting the larger diesel nozzle into a smaller unleaded petrol tank. The problem is, the slimmer petrol nozzle still fits perfectly into a diesel car's wider opening. This is precisely why putting petrol into a diesel engine is the most common misfuelling blunder.
Spotting any of these issues early is the key. It can mean the difference between a straightforward fuel drain and a repair bill that runs into the thousands.
Your Essential Safety and Tool Checklist
Right, before you even get close to the car, let's talk about safety. This isn't a routine job like changing a tyre. You’re dealing with petrol – a highly flammable liquid that gives off invisible, equally dangerous fumes. One spark is all it takes for things to go catastrophically wrong. Think of this checklist as your pre-flight safety brief; ignore it at your peril.
You have to respect how volatile petrol is. Its fumes are heavier than air, which means they can creep across the ground and find an ignition source you haven't even thought of. We're talking about anything from a pilot light on your boiler to a stray spark from a power tool, or even static from your own clothes.
That brings us to the first, non-negotiable rule: never, ever do this indoors. Get the car outside into a wide-open, well-ventilated space, well away from any buildings, sheds, or open flames.
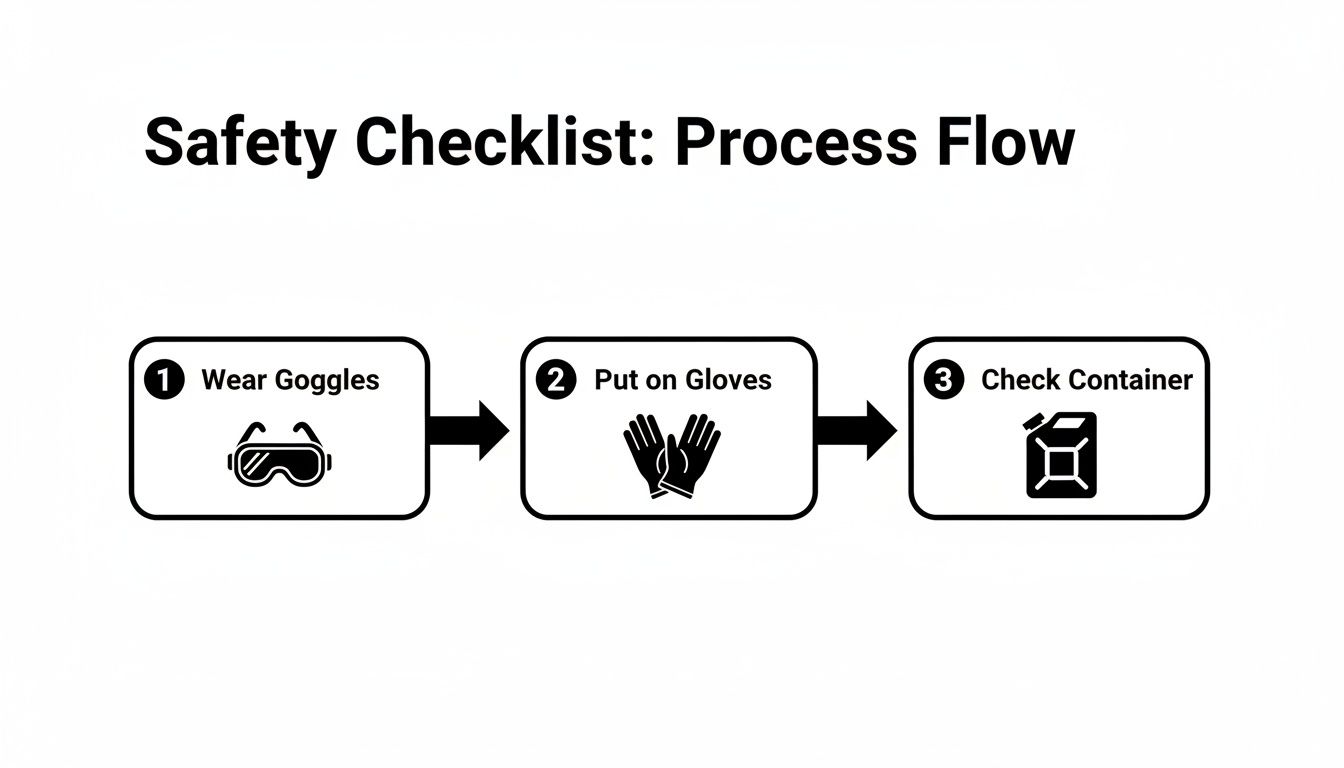
Personal Protective Equipment (PPE)
This is your personal armour, and it's not optional. Good PPE is the only thing standing between you and chemical burns, serious eye damage, or a lungful of toxic vapour. Don't even think about cutting corners here.
Your kit needs to be up to scratch. While regulations like the Australian personal protective equipment requirements might seem a world away, the principles of keeping yourself safe from hazardous chemicals are exactly the same here in Suffolk.
Safety Goggles: Not glasses. A single splash of petrol in the eye is agony and can cause permanent damage. You need fully sealed goggles that protect you from all angles.
Chemical-Resistant Gloves: Standard latex gloves will dissolve in minutes. You need proper nitrile gloves (or something similar rated for fuel) to stop the petrol from irritating your skin or, worse, being absorbed into your system.
Cover Up: Long sleeves and old trousers are a must. The goal is to leave no skin exposed to accidental splashes.
Crucial Safety Mandate: Before you start, place a Class B fire extinguisher within easy reach. This is the specific type for flammable liquids like petrol. Make sure it's fully charged and you know how it works. Hoping for the best isn't a safety plan.
Gathering the Right Tools for the Job
Using the correct tools makes draining a petrol tank easier, but more importantly, it makes it safer. Trying to improvise with bits and pieces from around the garage is just asking for a dangerous spill. That old bit of garden hose? Leave it on the reel.
Here’s what you actually need to get this done properly:
A Quality Siphon Pump: This is your most important bit of kit. A simple manual hand pump works perfectly well, though an electric one will be faster. Whatever you choose, never use your mouth and a tube to start a siphon. Inhaling even a small amount of petrol can be fatal.
Approved Fuel Containers: Don't even think about using old milk cartons or buckets. You must use containers that are specifically designed and approved for storing petrol. They're built from materials that won't degrade and have sealed, vapour-proof lids. Make sure you have enough of them to hold every last drop from the tank.
Basic Hand Tools: A decent set of screwdrivers, some pliers, and maybe a socket set will likely be needed. Depending on the car, you might need them to get access to the fuel pump or to disconnect a fuel line.
Rags and an Oil Drip Pan: No matter how careful you are, drips happen. Have a stack of rags ready to mop up any spills immediately, and slide a drip pan under your work area to catch anything bigger.
Once you have everything assembled, take one last look around. If you're missing a single item from this list, or if you have any doubt whatsoever about what you're doing, that’s your cue to stop. Put the tools down and call a professional. Your safety is worth far more than the cost of a call-out.
A Practical Guide to Draining Your Fuel Tank
Right, you’ve got your safety gear on and your tools laid out. Now for the main event: draining the petrol tank. How you go about this really hinges on one simple question—did you start the engine after putting the wrong fuel in? Answering that question is crucial because it splits the job into two very different paths.
If you realised your mistake right at the pump and haven't so much as turned the key, breathe a sigh of relief. The contaminated fuel is just sitting in the tank, making this a much simpler DIY job. But if you've started the car, even for a moment, that fuel has already been pulled into the fuel lines, filter, and possibly the engine. That makes everything a lot more complicated and a fair bit riskier.
Method One: The Engine Has Not Been Started
This is the scenario you’re hoping for. It's the most straightforward approach and one a confident DIYer can handle. The main tool for the job is a siphon pump, which you'll use to transfer the fuel from your tank into those approved containers we talked about. It sounds easy, but many modern cars have anti-siphon guards in the filler neck to stop fuel theft, which can be a real pain.
First, gently feed the intake hose from your siphon pump down into the fuel tank. You'll likely need to give it a little wiggle and a twist to navigate past the anti-siphon valve. Never force it—the last thing you want is a damaged filler pipe.
Once the hose is in place, stick the other end securely into your first fuel container. Make sure the container is sitting lower than your car's tank; gravity is your best friend here.
Pro Tip: I always place the container on the ground right beside the car. That height difference makes the siphon work so much more efficiently, meaning less pumping for you and a steadier flow of fuel.
Now, get pumping. With a manual pump, you’ll be squeezing the bulb to create the vacuum. An electric one, of course, does the hard work for you. Keep a very close eye on the container level. Trust me, it’s much better to swap to a new container a bit early than to clean up a dangerous petrol spill.
This checklist is a great final mental run-through before you start. It’s the bare minimum for staying safe.
Think of it this way: goggles, gloves, and a proper container are your non-negotiables.
Method Two: The Engine Has Been Started
Okay, so the engine has been running. This is where things get serious. Siphoning from the tank won't cut it anymore because the bad fuel is already circulating through the fuel lines and filter. The only way to fix this properly is to disconnect the fuel line itself—a job that comes with much higher stakes and requires a decent amount of mechanical know-how.
I have to be clear: this is not a job for a beginner. If you get this wrong, you could be looking at major fuel leaks, a fire, or serious damage to your fuel system.
First things first, you need to find the fuel pump and the fuel line. In most modern cars, the pump is inside the tank itself, and you can often get to it by removing the rear seat cushion. You're looking for an accessible spot to disconnect the fuel line running from the pump to the engine. The area near the fuel filter or at the fuel rail in the engine bay is often your best bet.
Before you touch a single connection, you absolutely must depressurise the fuel system. A common trick is to pull the fuel pump fuse or relay from the fuse box, then start the car and let it run until it cuts out. This burns off the pressurised fuel left in the lines. Always, always check your vehicle's manual to find the right fuse and follow the manufacturer's specific procedure.
With the pressure gone, put plenty of rags and a drip pan under the connection you're about to undo. Carefully disconnect the fuel line with the right tools—be ready for a little bit of fuel to spill out. Now, attach a length of rubber hose to the line you just disconnected and run the other end into your approved container.
To get the fuel flowing, you'll need to power up the fuel pump. Pop the fuse or relay back in and turn the ignition to the 'on' position (but don't start the engine). The pump will kick in and start pushing the fuel out through the hose.
Listen closely. You'll hear the sound of the pump change—it might start to gurgle as the tank gets empty. The second you hear that, turn the ignition off immediately. Running the pump dry can cause it to overheat and fail, turning a bad day into a very expensive one. This method flushes the entire system, not just the tank, which is exactly what you need in this situation.
DIY Fuel Drain vs Professional Service Comparison
Deciding whether to tackle this yourself or call in a professional is a big decision. It’s not just about cost; it’s about safety, time, and getting the job done right. I’ve put together this quick comparison to help you weigh the pros and cons based on years of seeing both successful DIYs and ones that have gone badly wrong.
Factor | DIY Method | Professional Service |
|---|---|---|
Safety Risk | High. Working with petrol is inherently dangerous. Risk of fire, spills, and skin/inhalation exposure. | Low. Professionals have specialised equipment, proper training, and extensive experience. |
Cost | Lower upfront cost. You only pay for tools and containers, typically £50-£100. | Higher upfront cost. Services can range from £150 to over £300, depending on location and vehicle. |
Time | Variable. Can take several hours, especially for a first-timer. | Fast. An experienced technician can often complete the job in under an hour. |
Equipment | You'll need to buy or borrow a siphon pump, approved containers, and safety gear. | Professionals arrive with everything needed, including vacuum pumps and certified storage. |
Thoroughness | Good for a simple tank drain (if the engine wasn't started). Flushing lines is complex and risky. | Comprehensive. They drain the tank, flush the lines and filters, and ensure the entire system is clean. |
Disposal | You are legally responsible for finding a licensed facility to dispose of the contaminated fuel. | Included. The service handles the safe, legal, and environmentally sound disposal of the fuel. |
Ultimately, while the DIY route can save you a bit of money, the risks are significant, especially if the engine has been started. For drivers in Suffolk facing this problem, a quick call to a local mobile service like Misfuelled Car Fixer means a fast, safe, and guaranteed solution without the headache or the hazard.
Flushing the System and Refilling Your Tank
Getting the contaminated fuel out of the tank is a massive step forward, but you’re not quite at the finish line yet. Think of it like this: you've dealt with the main problem, but tiny traces are still lurking in your car's fuel lines and filter. Skipping the flush is like mopping a muddy floor and then walking all over it in your dirty wellies – you’ll just end up spreading the mess again.
This part of the job is absolutely vital for preventing long-term engine damage. Even a tiny bit of petrol left in a diesel system, for example, can wreck the lubrication, leading to serious wear and tear on the fuel pump and injectors down the road.
Clearing Out the Last Traces
Once you’ve drained the tank as much as possible, the next job is to get the fuel lines completely clear. If you've already had to disconnect the fuel line to drain the tank (which is what you’d do if the engine was started), then you're already most of the way there. That process naturally flushes most of the system.
However, if you just siphoned fuel directly from the tank, there's still a line full of contaminated fuel between the tank and the engine. To get rid of it, you'll need to disconnect the fuel line up near the engine and use the car's own fuel pump to push that last bit of bad fuel out into a waste container. This makes certain that every last drop of the wrong stuff is gone before fresh fuel goes in.
Expert Insight: The fuel filter is your engine's bodyguard. After you've put the wrong fuel in, especially petrol in a diesel car, that filter has trapped a lot of the contamination. Pushing clean fuel through a clogged, saturated filter is just asking for poor performance and potential damage. Replacing it isn't optional; it's a non-negotiable part of doing this job properly.
The First Refill Is Crucial
With the system now clear, you can reconnect all the fuel lines and get ready to refuel. Hold on, though – don't just rush to the petrol station and fill it to the brim. The first fill needs a bit more care.
Your first step should be to add just 5 to 10 litres of the correct, high-quality fuel. This isn't an arbitrary amount; it serves as a final rinsing agent. It’ll mix with and massively dilute any tiny droplets of contaminant that are impossible to remove, rendering them harmless.
After adding this initial small amount, it’s time to prime the system.
Turn the ignition key to the 'on' position, but don't actually start the engine.
Wait a few seconds. You should hear the soft whir of the fuel pump as it starts pushing the fresh fuel through the lines.
Turn the ignition off completely, then repeat this cycle two or three more times.
This priming process forces all the air out of the fuel lines and ensures clean fuel has reached the engine. It makes that first start-up much smoother and safer for all the engine's sensitive components. Some people also find that certain additives can help give the injectors a good clean after a contamination scare. You can learn more about how fuel additives work in our detailed guide.
Topping Up and Final Checks
Once you’ve primed the system and the car has started, just let it idle for a few minutes. Have a good listen for any strange sounds or sputtering, and keep an eye on the dashboard for any warning lights. It should sound smooth and settled.
Now, you can drive to the nearest petrol station and fill the tank completely. A full tank dilutes any final, microscopic traces of the wrong fuel to a point where they can't cause any harm. Taking the time to do this final flush and careful refill is what separates a quick, temporary fix from a proper, professional-standard recovery that protects your vehicle for the long haul.
How to Handle and Dispose of Old Petrol Safely
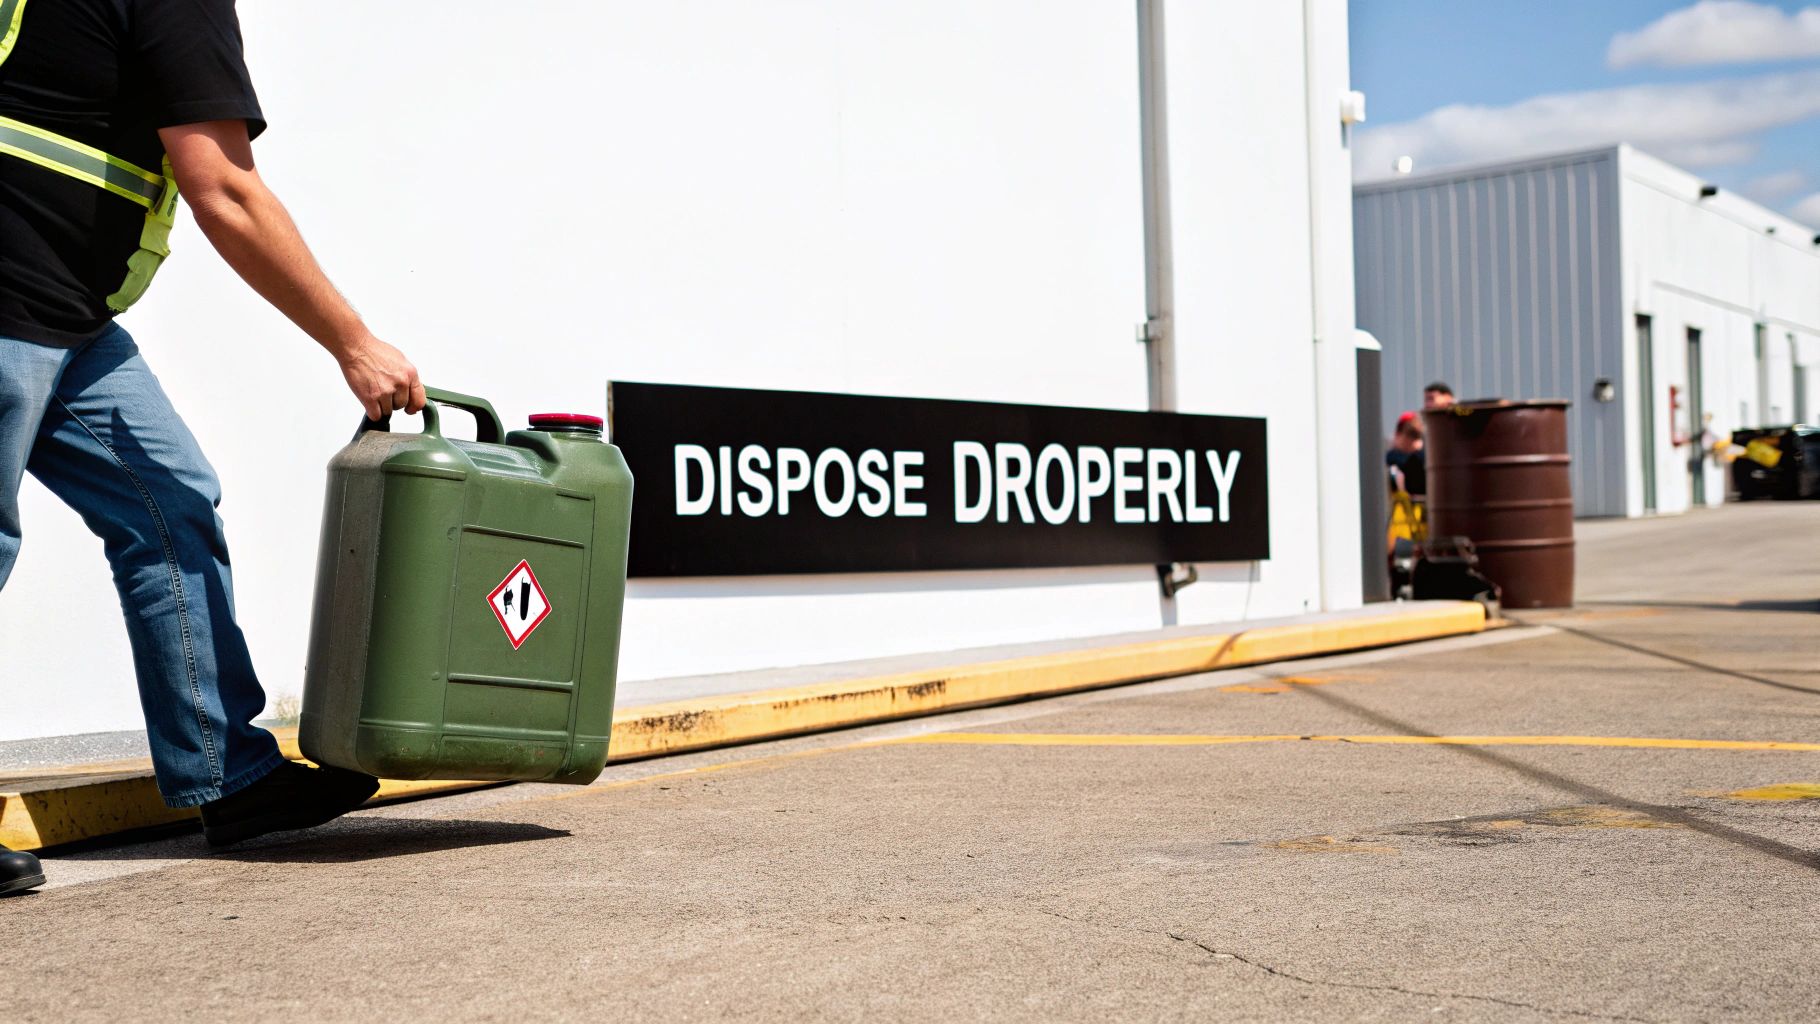
Alright, you’ve done the hard part and drained the tank. Now you're staring at a few jerry cans full of contaminated petrol, and this is where many DIY jobs grind to a halt. What you’ve got there is officially hazardous waste, and you can't just toss it out with the weekly rubbish.
Let's be clear: pouring it down a drain or onto a patch of wasteland is not an option. It’s incredibly dangerous, illegal, and causes serious environmental damage. Petrol contaminates soil, poisons groundwater, and can even create explosive fumes in sewer systems. The fines for getting caught are hefty, and rightly so.
Finding Your Local Disposal Point
So, what's the proper way to get rid of it? Your local council has a legal duty to provide a place to dispose of household hazardous waste. This is usually located at your main household waste recycling centre (HWRC), but you can't just rock up unannounced.
There's a process, and you need to follow it to the letter:
Phone Ahead: First things first, check your local council's website or give them a call. You need to confirm which specific site accepts liquid fuel and ask about their exact procedures.
Transport it Securely: The fuel must be in a sealed, government-approved container for the journey. A flimsy plastic bottle won't cut it. You are responsible for getting it there safely without any spills.
Declare It on Arrival: When you get to the site, find a staff member and tell them precisely what you have. They will guide you to the correct, designated disposal area.
For anyone in Suffolk, whether you're in Ipswich or out near Bury St Edmunds, your council's website is your best resource for this. Following their guidance ensures the fuel is passed on to professionals who can deal with it responsibly.
Why Correct Disposal Matters
This isn't just about ticking boxes and avoiding fines; it’s about doing the right thing for the environment. While the contaminated fuel from your tank can't be salvaged, it's part of a bigger picture. In 2023, the UK supplied an equivalent of 3,700 million litres of renewable fuel, which accounted for 7.5% of all fuel used on our roads.
These greener fuels achieved an average greenhouse gas saving of 82% compared to traditional fossil fuels, a significant step forward. You can read the full government report on the UK’s renewable fuel progress.
Honestly, the hassle and legal responsibility of disposal are major reasons why calling in a professional fuel drain service is often the smarter move. When you use a service like Misfuelled Car Fixer, the safe, legal disposal of the bad fuel is all part of the job.
We turn up with specialised equipment and licensed waste carriers to handle the contaminated fuel. We already have the procedures and partnerships in place with disposal facilities, which takes the entire burden off your shoulders. It turns a risky, complicated problem into a simple phone call.
If you suspect other contaminants might be in your system, our guide on what to do about water in your petrol tank is a great next read. Our goal is to offer a complete solution that protects your vehicle, your safety, and the local environment.
When to Down Tools and Call in the Professionals
There's a certain satisfaction in a good DIY job, but when it comes to draining petrol, there are clear moments when you need to put the siphon down and pick up the phone. This isn't about giving up; it's about making the smart, safe, and often cheaper call in the long run. Knowing your limits is the most important tool you have.
The biggest red flag? You've already started the engine. The second you turn that key, the wrong fuel is no longer just sitting harmlessly in the tank. It's now coursing through your fuel lines, pump, and filter, heading straight for critical engine components. A simple drain won't cut it anymore; you now need a professional flush, and trying that yourself without the right gear can cause serious, expensive damage.
Take a Hard Look at Your Setup
Where you are and what you have on hand matters immensely. If you’re parked on the street outside your terraced house in Ipswich or in a shared underground car park, you simply don't have a safe place to work. You need a wide-open, well-ventilated area, completely free of any ignition sources—no exceptions. Missing the proper kit, like an approved fuel container or a decent siphon pump, is another sign to stop right there.
That’s precisely why mobile fuel drain services exist. These pros are on call 24/7 and will come to you, whether you’re stuck on the A14 near Felixstowe or stranded at home. Their vans are essentially mobile workshops, kitted out with everything needed to do the job safely and correctly.
Modern cars are another kettle of fish entirely. Anything built in the last 10-15 years will likely have anti-siphon devices, high-pressure fuel pumps, and a web of sensors. Attempting a DIY drain on these systems is a recipe for disaster and can easily damage components or even void your car’s warranty. If you can’t confidently tell a fuel rail from a brake line, it's time to call for help.
Finally, think about the bigger picture. We all remember the 2021 fuel supply crisis, when news reports showed up to 90% of pumps in some areas were dry. You can read a full recap of how the UK fuel crisis unfolded on Wikipedia. In situations like that, a mobile service that brings the solution directly to you is invaluable. If you're ever in doubt, our guide on finding emergency fuel drain assistance near you will give you the immediate next steps.
Got Questions About Fuel Draining? We've Got Answers
Even with the best guide in hand, a few questions always pop up when you're dealing with a situation like this. Let's tackle some of the most common things we get asked by drivers.
How Long Does a Fuel Drain Actually Take?
This really depends on who's doing the work. A professional mobile service like Misfuelled Car Fixer can be in and out in as little as 30 to 60 minutes. They come equipped with powerful, specialised pumps that make the job incredibly quick and clean.
If you’re tackling this yourself for the first time with a manual siphon pump, you need to be realistic. Block out a good 2-3 hours from start to finish. That gives you plenty of time for a cautious setup, the slow process of pumping, and a thorough, safe cleanup afterwards. Don't rush it.
Can I Just Use a Garden Hose to Siphon the Fuel?
No, absolutely not. Please, don't even consider it. This is one of the most dangerous shortcuts people try, and it can go wrong in a flash.
Garden hoses are made of plastics that petrol will eat through, often causing the hose to split and spill highly flammable fuel everywhere. The bigger danger, though, is that this old-school method usually involves starting the siphon with your mouth. Inhaling petrol fumes is bad enough, but getting even a small amount of liquid petrol in your mouth or lungs can be fatal. It's just not worth it.
Expert Tip: Always, always use a proper, purpose-built siphon pump with fuel-grade hosing. Your safety is paramount, and improvised tools are a recipe for disaster.
What Are the First Signs I've Put the Wrong Fuel In?
You'll know soon enough, especially if you've turned the key. The symptoms of misfuelling are hard to ignore and show up fast.
The engine will likely start spluttering or misfiring as it fails to properly combust the incorrect fuel.
You'll feel a significant loss of power, and the car will struggle to accelerate.
Look for excessive smoke from the exhaust. It's often white smoke if you've put petrol into a diesel engine.
The engine might just cut out altogether and then refuse to start back up.
You can almost guarantee the engine management light will pop up on your dashboard.
Could Misfuelling Void My Car's Warranty?
Unfortunately, yes, it can. Nearly all manufacturer warranties have clauses that exclude damage caused by owner error or negligence. Misfuelling fits that description perfectly.
If you drive the car and the wrong fuel causes damage to the engine, injectors, or the fuel system, it’s highly unlikely the manufacturer will cover those expensive repair bills. This is a huge reason to stop immediately and call a professional—you're not just fixing a mistake, you're protecting your investment.
If you're in Suffolk and find yourself in this tricky situation, don't take chances with your vehicle or your safety. Misfuelled Car Fixer provides a rapid and professional emergency fuel drain service, 24/7. Get immediate, expert help by visiting their website: https://www.misfuelledcarfixer-suffolk.co.uk.